The Interactions Tab allows you to track interaction-related information between your organizations staff and a particular client. This information includes:
- Interaction date and time of day
- Time spent on the interaction
- Travel and Preparation time
- Counselor involved
- Person within the client company involved (for Company Clients)
- Type of interaction (as defined by your organization)
To record an Interaction, click on the Interaction Tab in the top nav bar within the Client Record.

Click 
The Client Interaction screen will appear.

Creating an Interaction
Interaction Date—Time stamps in SourceLink® record the current date and time of day in which interactions occur. The default time stamps have been revised to respect the time zone associated with your organization. To change the date, either click on the calendar icon or the -/+ symbols.
Language—Language in which the interaction occurred
Counselor—Defaults to the counselor logged into SourceLink. Click on the dropdown arrow next to the counselor’s name to change the counselor.
Interaction Type—Allows you to classify the type of interaction. This is one of the dropdown lists that can be customized by your organization.
Assistance Requested—Records the client request.
Person—Person at the company with whom the interaction was made.
Contact Time—Captures the duration of the interaction.
Prep Time—Captures the time spent on preparation
Travel Time—Captures the time spent on travel
Number of participants—The number of people from the client company participating in the interaction
Interaction Notes—Record any notes associated with the interaction for future reference. Notice the editing functions at the top of the Interaction Notes field. These allow you to edit the notes in much the same way as in a Word document. You can also cut and paste from email to record those interactions.
Schedule Followup—Clicking on this checkbox will allow you to schedule an interaction for some time in the future. Followup Date and Followup Type fields both appear in the interaction window once you click on the Schedule Followup checkbox. Record the date on which you want the followup to occur as well as the type of followup. As with Interaction Type, Followup Type is a dropdown list that can be customized by your organization. You can also Copy Notes from the Interaction into the Followup.

Interaction Tags—Allows users to set up interaction Tags to create specific groups. See Tagging.
Save, Save & Add Snapshot or Save & Add Referral—You have the option to save the individual interaction, save the interaction and create a snapshot or save the interaction and add referral information. The new snapshot will include information from the most recent snapshot for this company, however, updates can be made to the current snapshot.
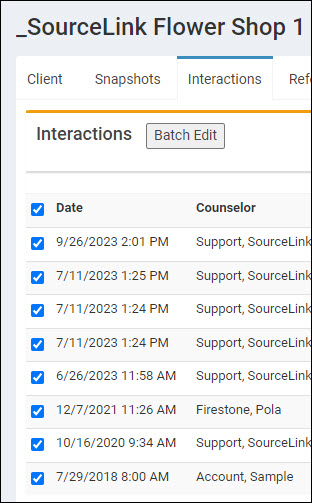
When an interaction is created it will appear on the Interactions Tab. Clicking on any of these interactions will re-open the Client Interaction screen for that interaction. You can also delete an interaction by clicking Delete under Options.

You can also View All or Print All interactions by clicking the appropriate button in the upper right corner.
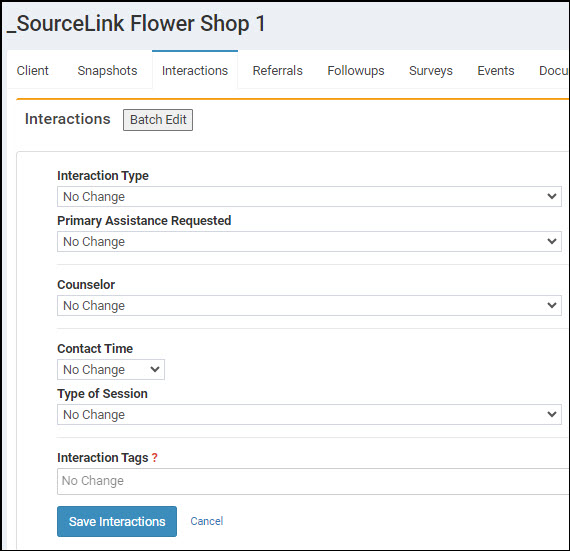
To Batch Edit several interactions at the same time, click the box next to the dates of the interactions that need editing or click the box next to Date in the heading to include all interactions.
Click the Batch Edit box. Continue to make edits. Save Interactions.